
2: Installing an Audio Interface
Once I started actually using the laptop I realized one major thing: I am probably never going to use this DVD tray. Initially I thought I would swap it out for one of those removable HDD/SSD trays for some expandable storage, but considering that this is an old machine with outdated security, I doubt I'll be keeping many files on this thing past the programs which I want to use on it. So instead of that, I thought I might try to get my hands a little dirty and install a focusrite audio interface inside of this laptop. I was mainly going to use this thing as an FL studio machine anyways, and this seemed like a perfect option as I haven't really seen anyone do this to a laptop before so it's a novel endeavor.Planning
Initially my plan was to solder some wires from the traces of one of the USB drives on the motherboard and use that to power and connect the audio interface, although I chose not to do this very quickly as it was the easily the messiest solution, and it would leave the laptop with only two working USB ports because one port would have to be taken up by the focusrite. After taking another look at the laptop's board I realized that it had not one but two MiniSATA ports, one of which was completely unused on my laptop, sitting right above the DVD tray.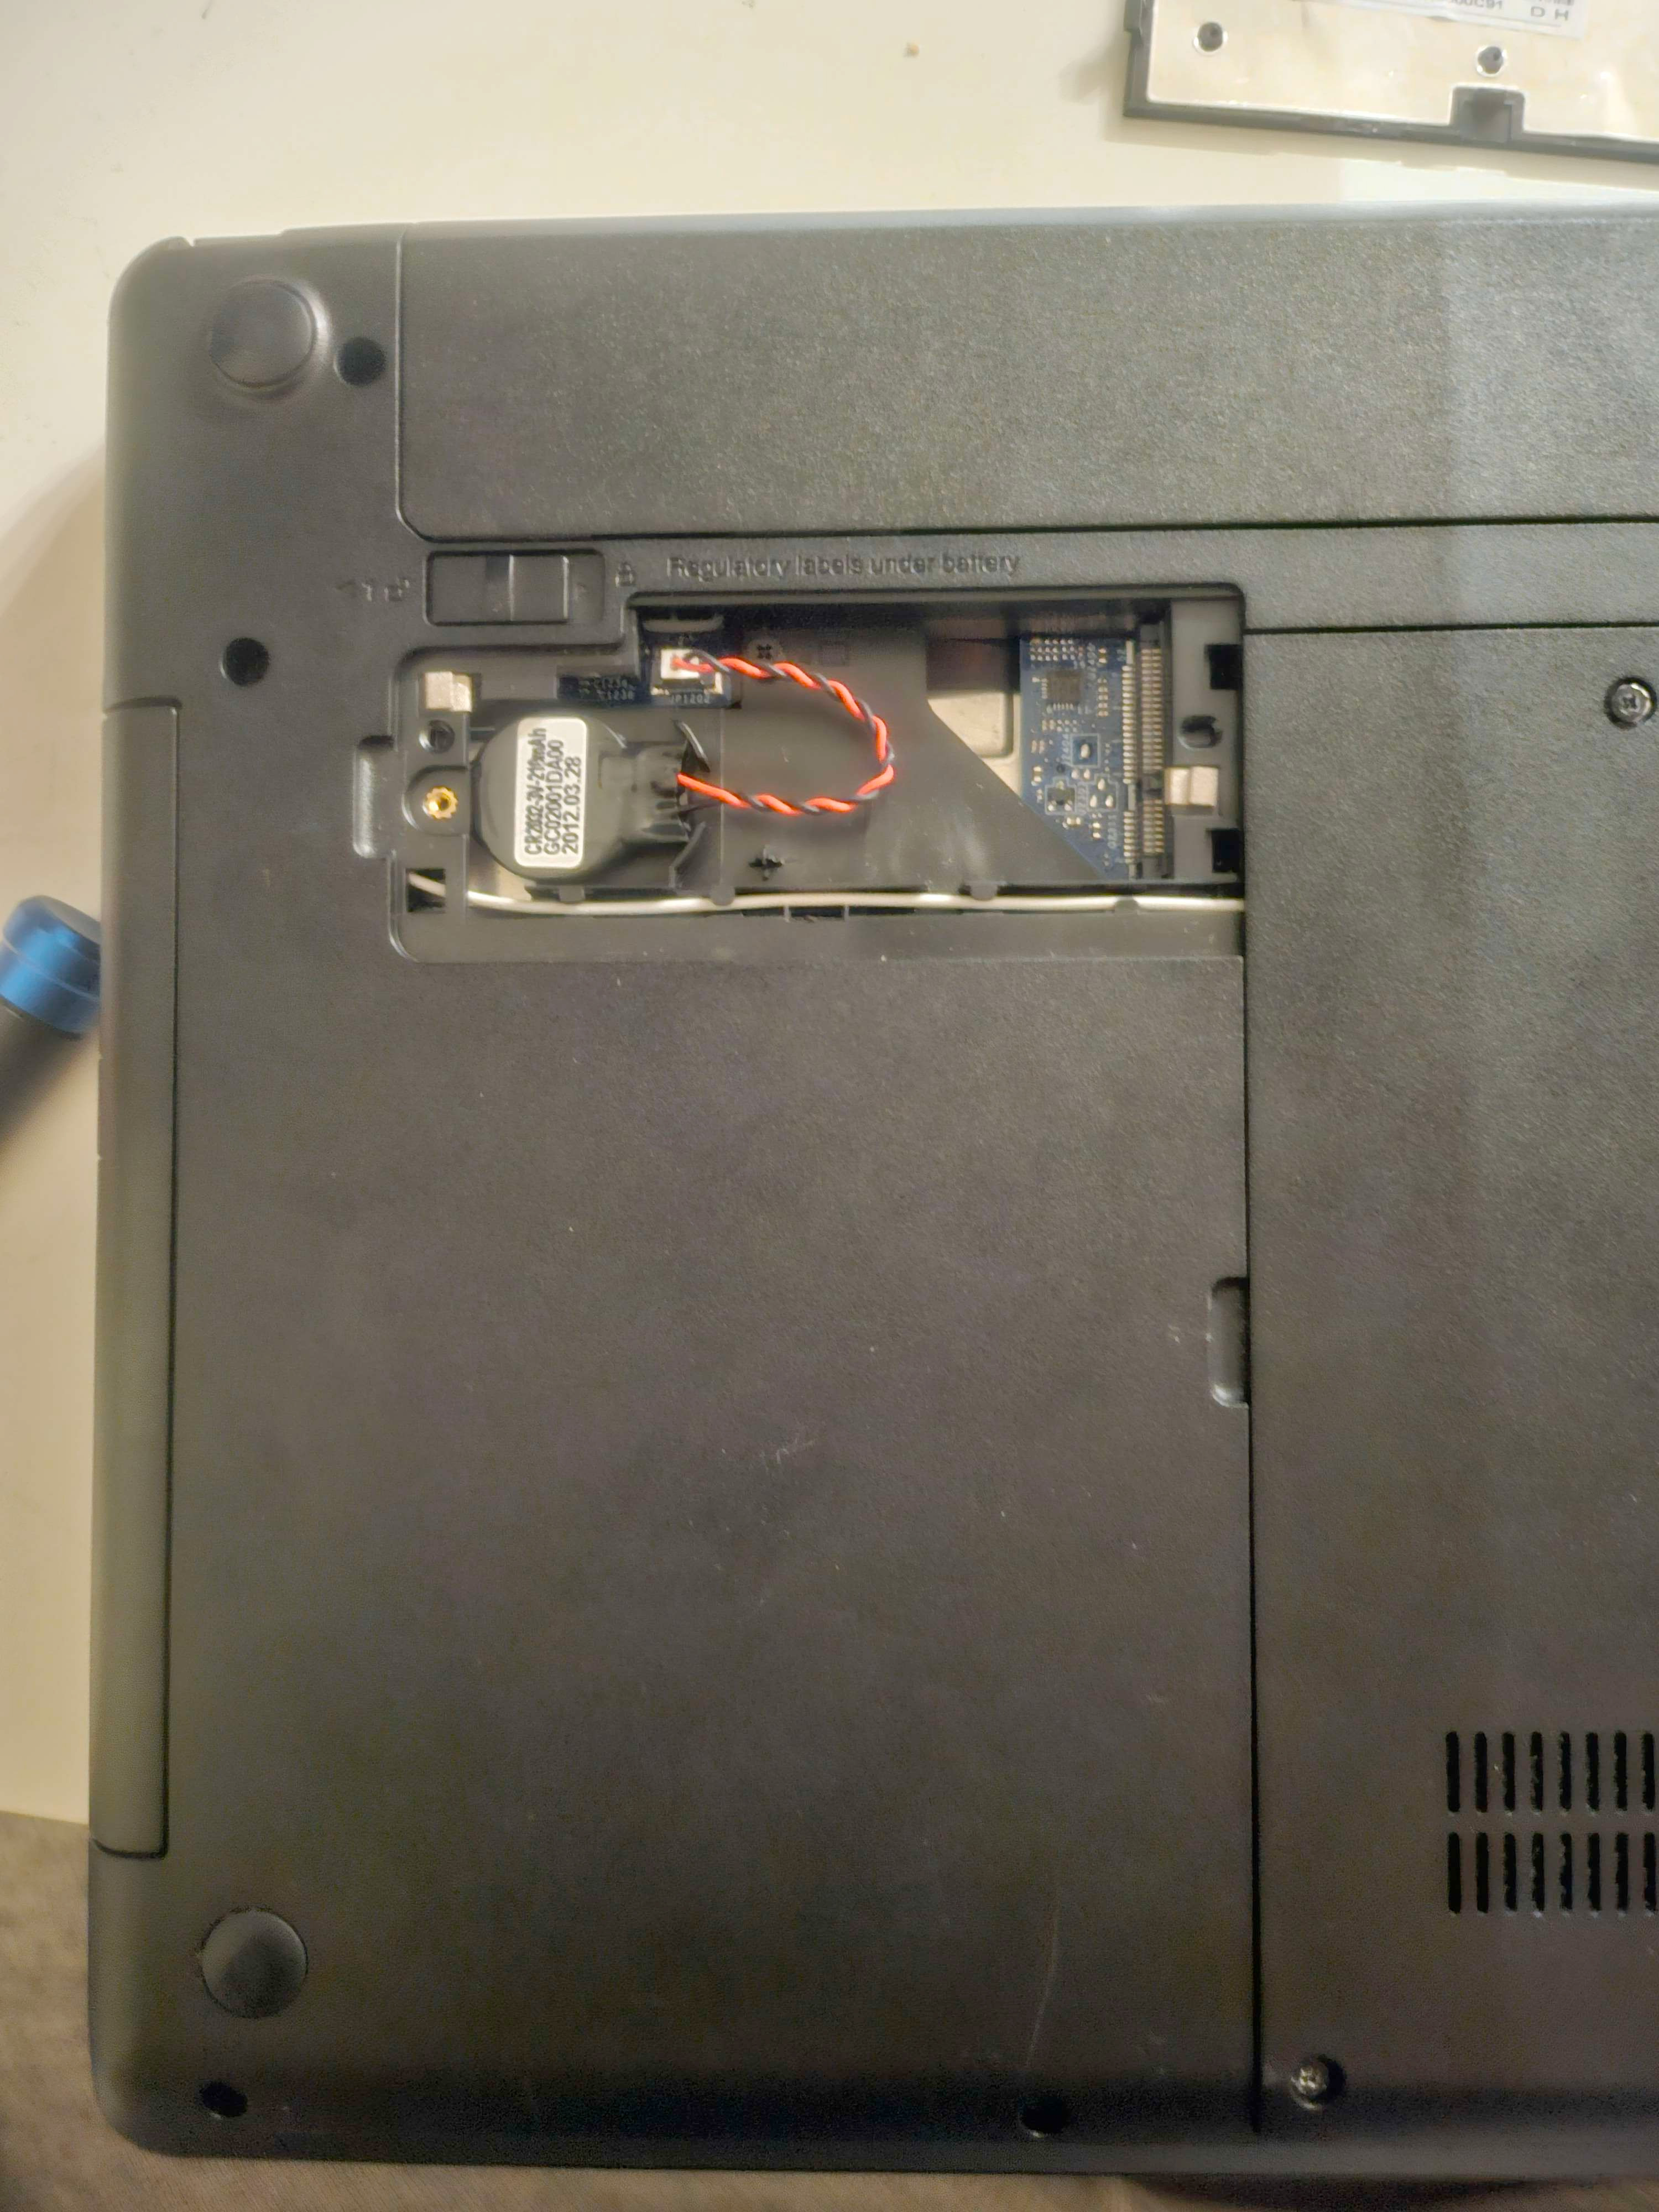
In this laptop's heyday this was supposed to be used for an higher bandwith wifi adapter or a bluetooth adapter. This port can send and receive data to and from the laptop, but it can only deliver 3.3V of power, and I need at least 5 volts to power the interface over USB2.0. Luckily, I think I can draw 5 volts from the slimline SATA port left open by the missing DVD tray and power the interface like this.
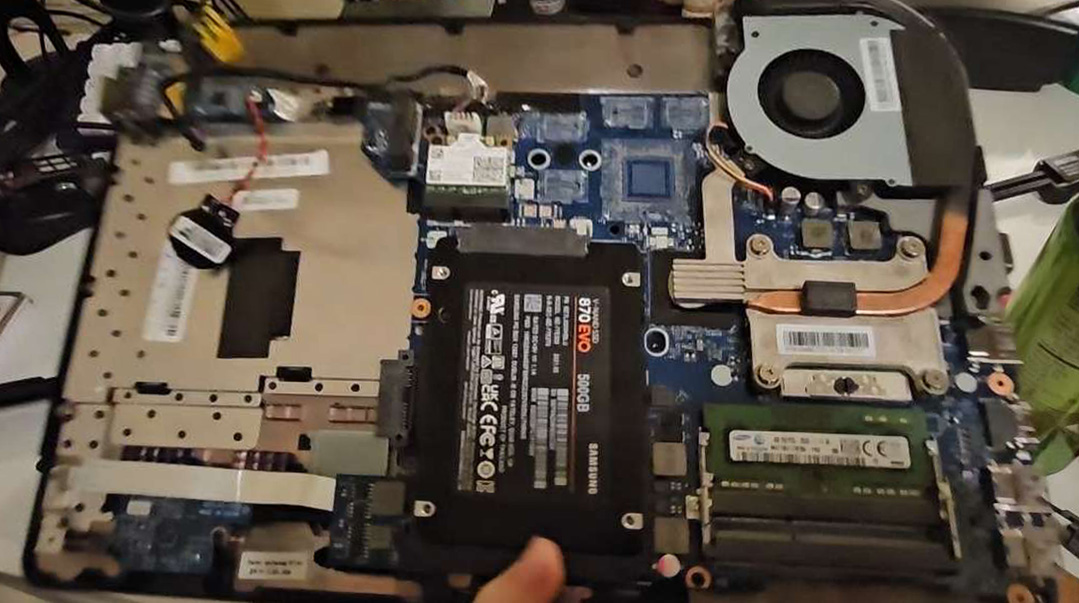
I couldn't find any good documentation of anyone taking the E430 apart, so I did my best to carefully unscrew and unclip everything

I still broke a few plastic bits inside of the case thinking I was unclipping some stuff (lol) In my defense this was my first time opening a thinkpad and this is 14 year old brittle plastic. I wound up having to buy a new palmrest panel, but luckily it was 17 dollars and it's pretty easily replaceable. I assembled the laptop headless first to see whether it would get power, and it booted up just fine once I got all the necessary ribbon cables connected again.
Modeling
Now that I have the laptop disassembled with all the components attatched to the palmrest panel it's time to design a new shell that can house the audio interface. Because I'll be completely redesigning the bottom part of the housing, I am also going to make some changes to make it easier to access the hard drive slot, as well as the removable ram slots.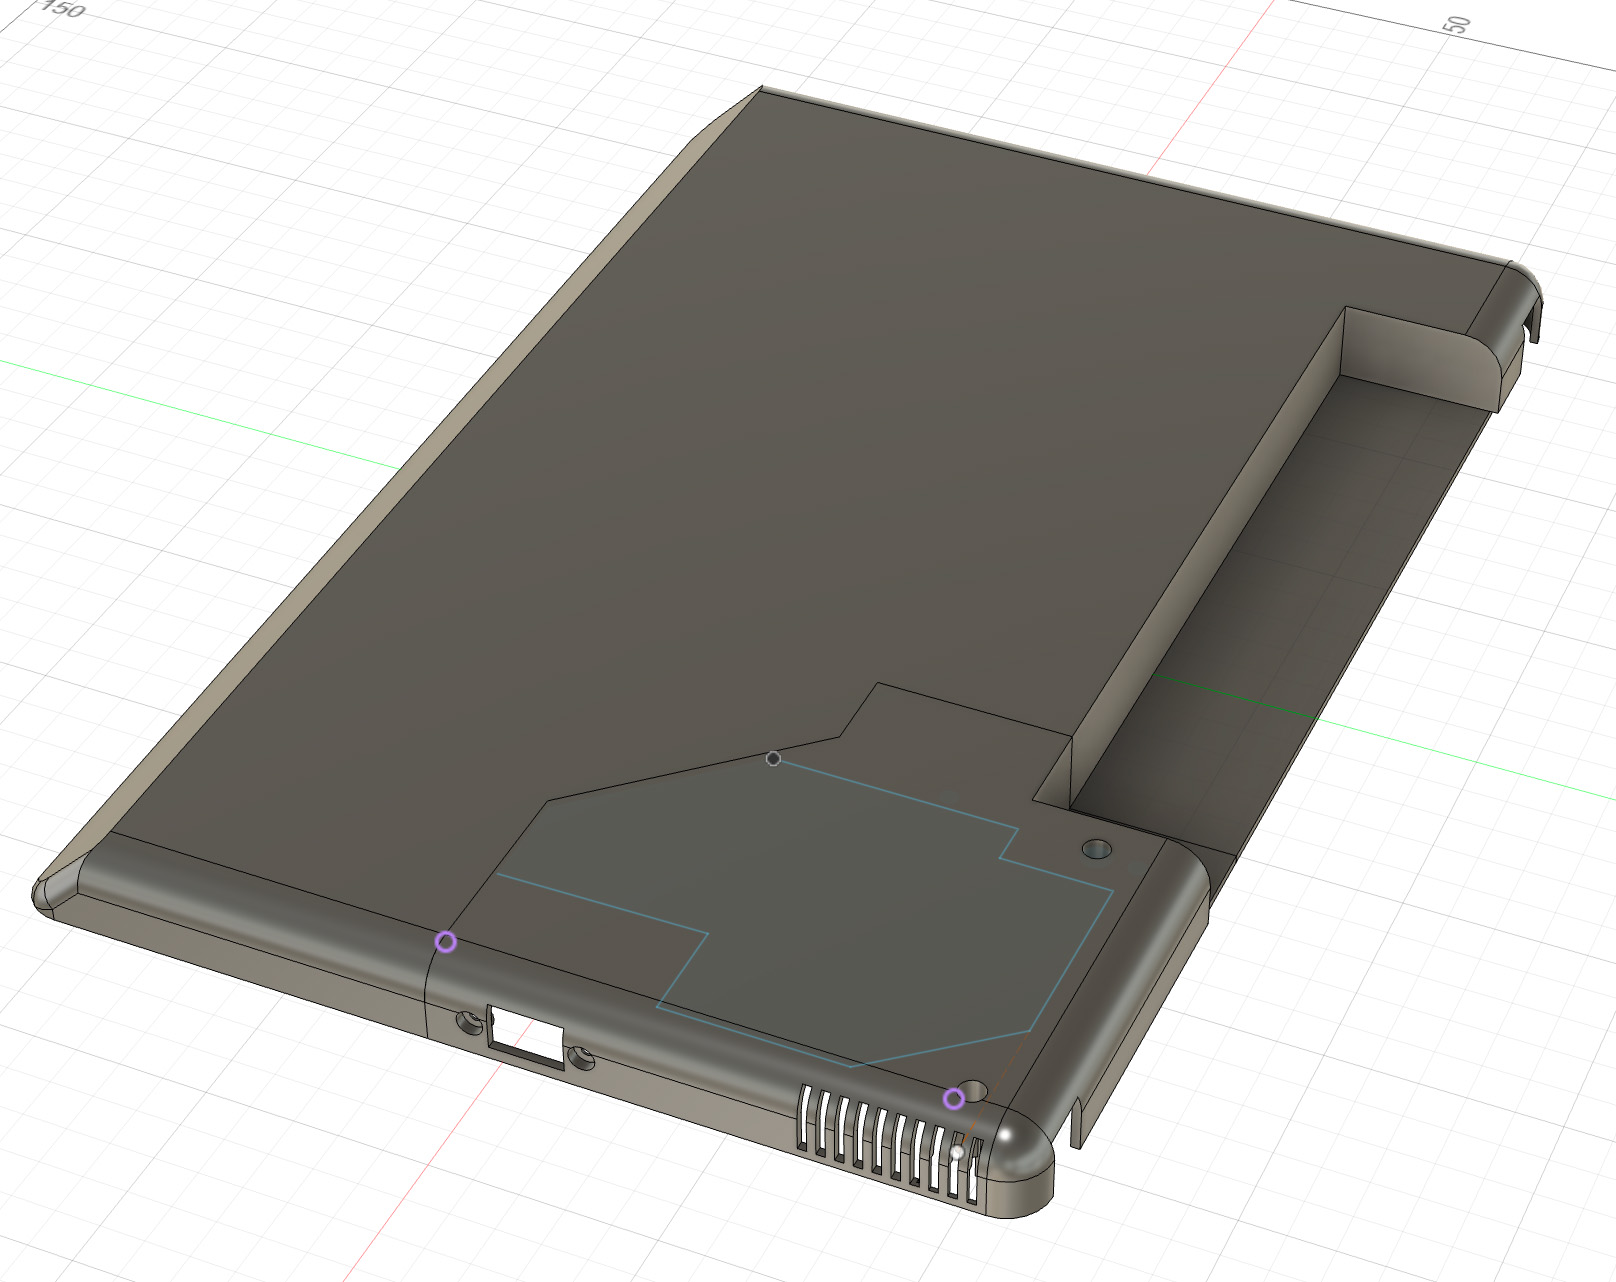
I thought I would design the back housing split in various parts which I could screw in and remove at will. I began with the a hinge corner because it will be far easier to work with the laptop once both hinges are secured and functional. It took a few tries to get the standoffs in exactly the right spots, but after a few tries I got a piece that feels pretty good.
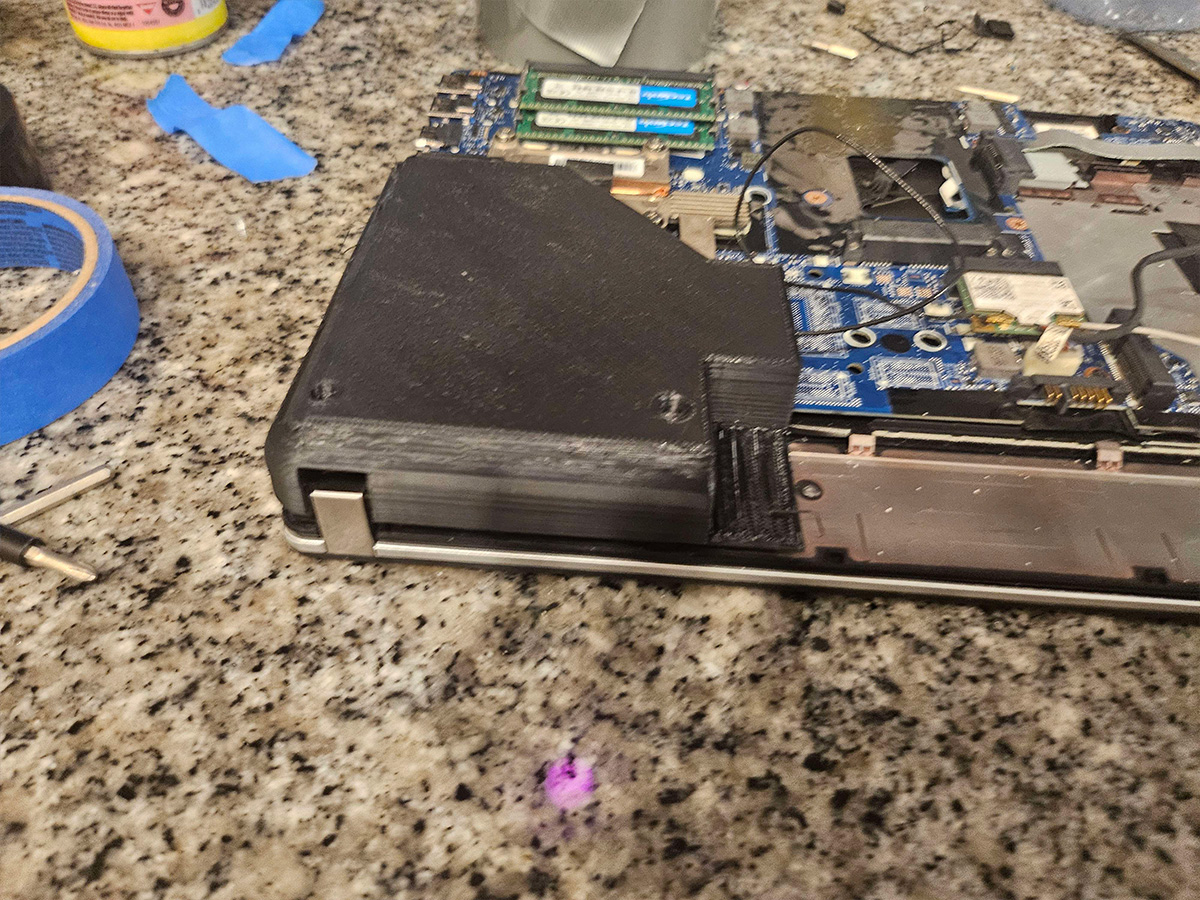
I wasn't able to screw the housing in because I snapped the hinge standoffs off :p
I moved on to the swappable hard drive bay while I wait for the new palmrest panel with the standoffs that I broke.